

Today I want to share a really simple (and very affordable!) diy project I did in our bedroom: the paint chip “art” above the bed! I love that it looks almost pixelated.
The original tutorial I found online was very colorful, which I loved, but was not right for this space. I decided to go with various shades of white, and used Valspar paint chips because of the shape. They were slightly rectangular, but turned out to be perfect squares (or close enough to perfect for me) once you covered up the text on the bottom.

I used a frame we already had in our house (sorry for killing your beers of the world montage, G!), so the total cost of this project was one can of white spray paint for the frame, and some double sided tape!
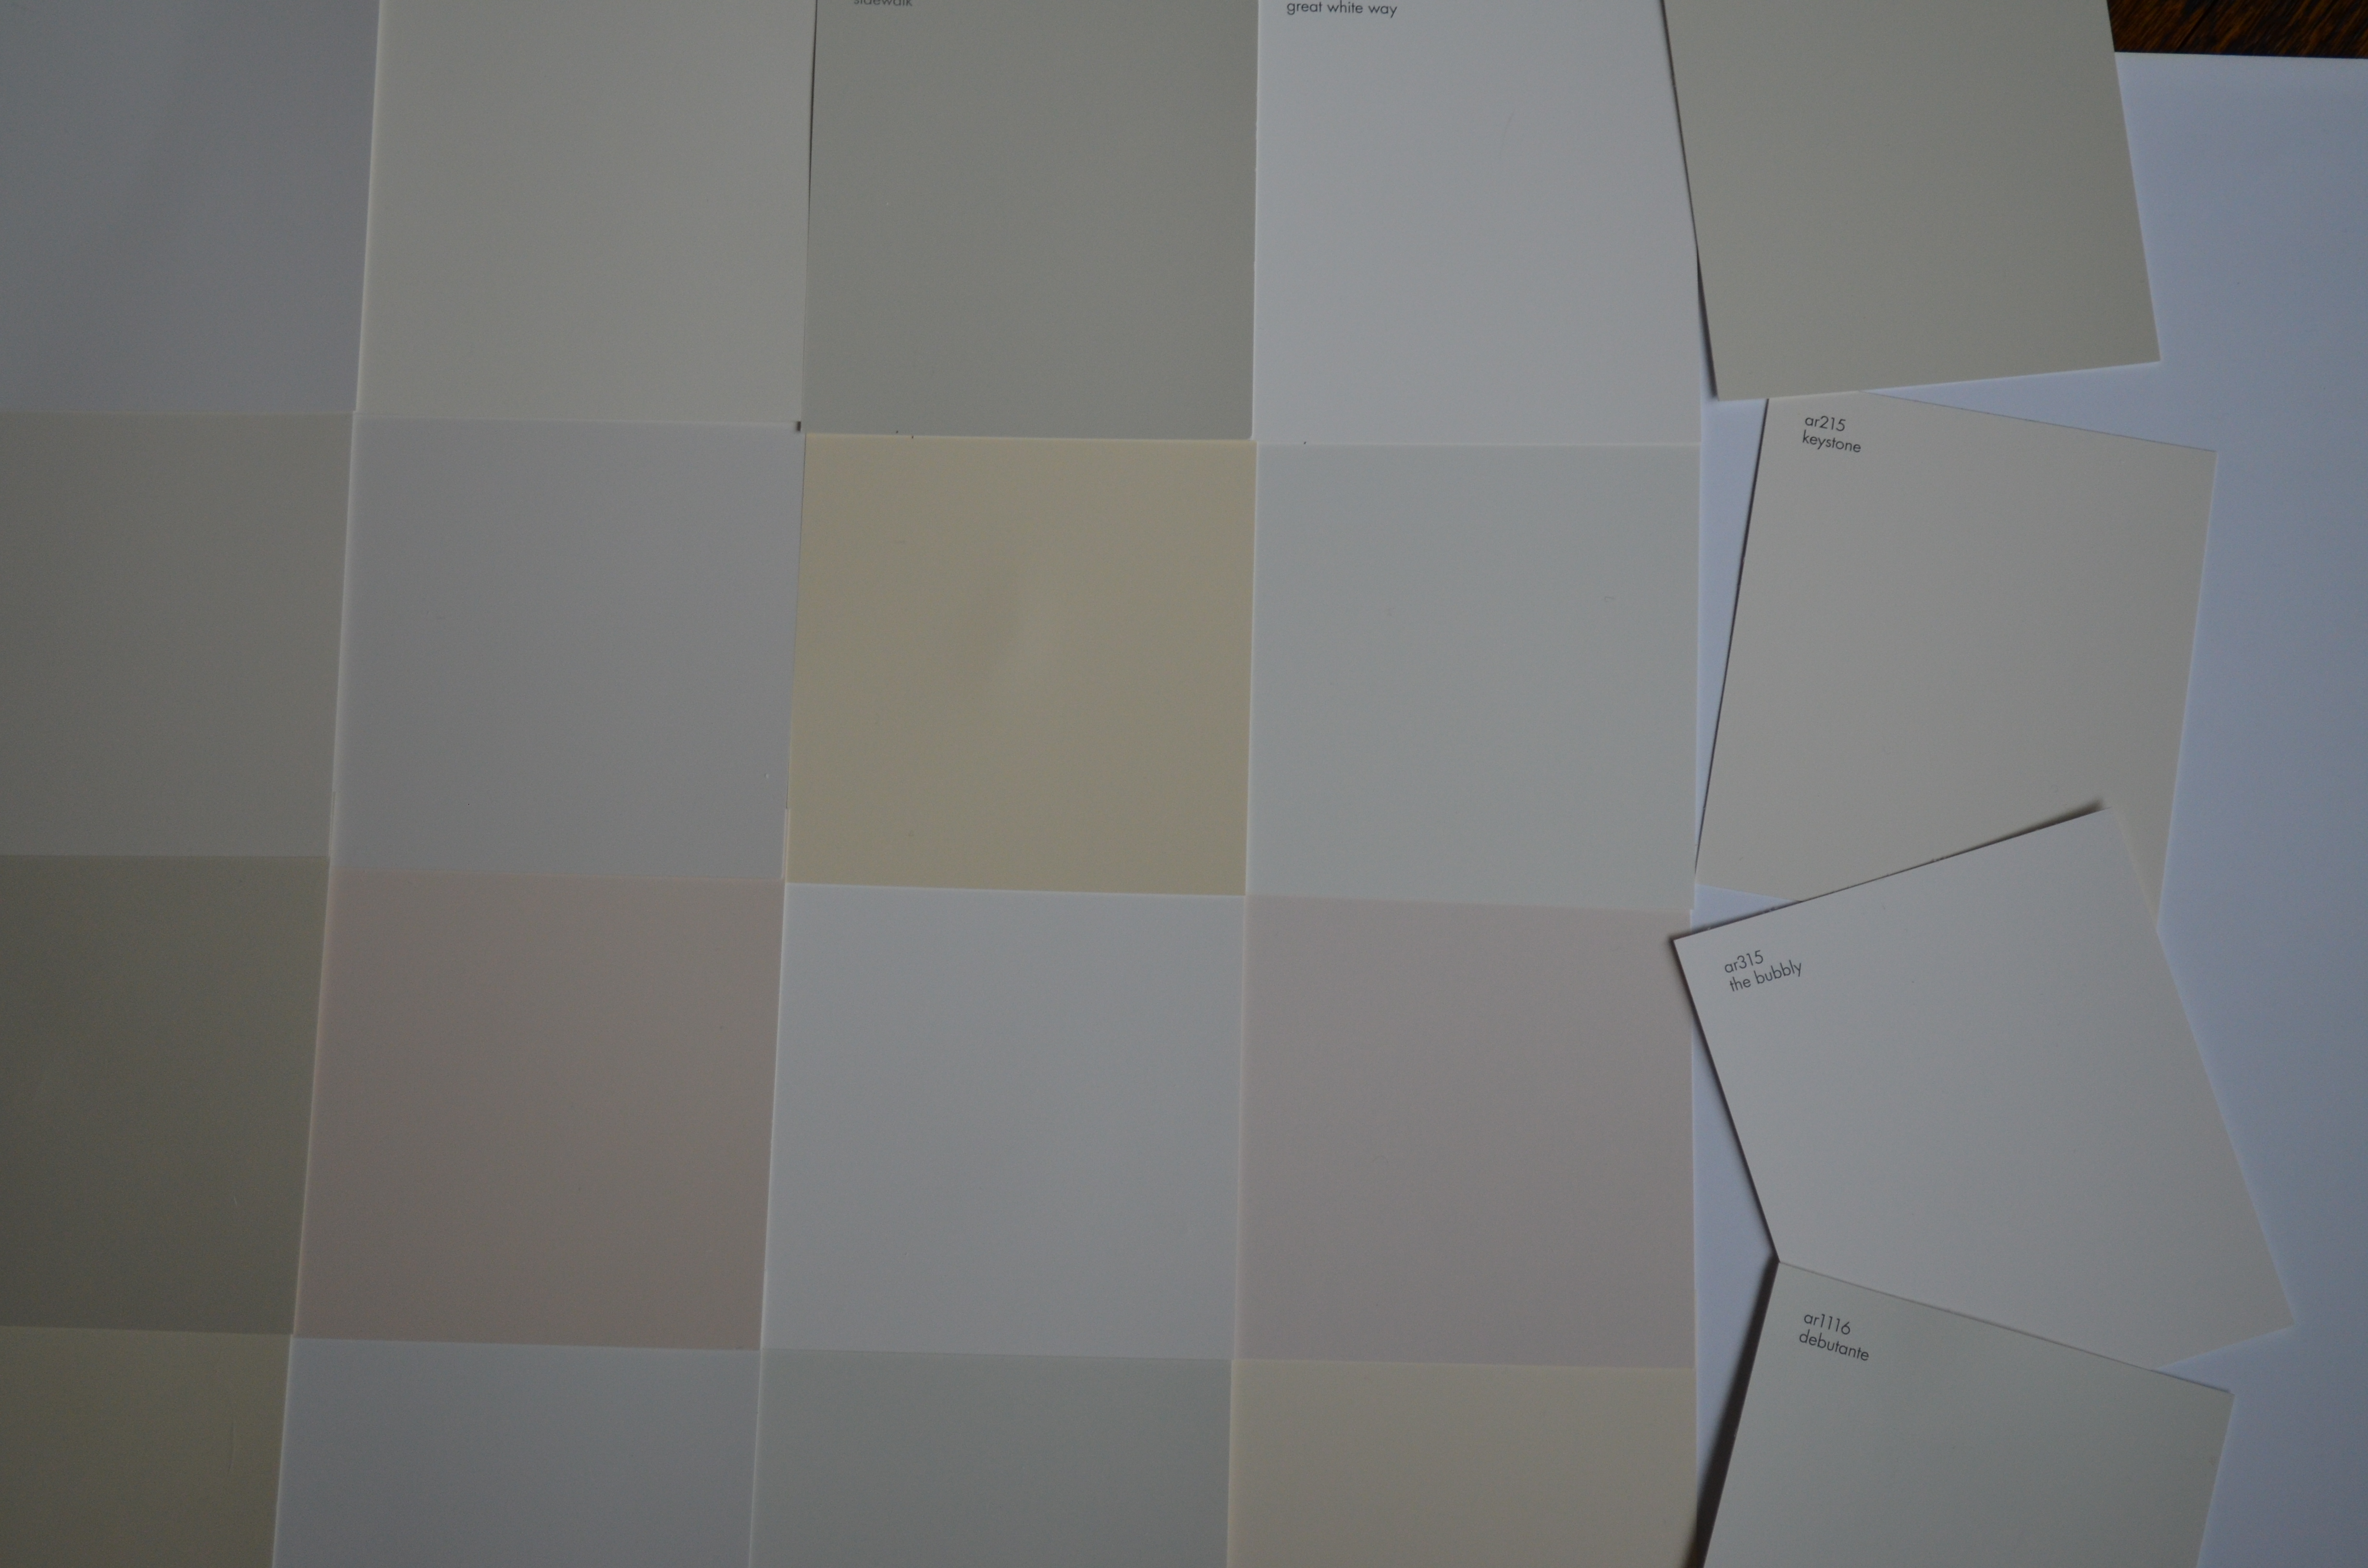

After painting the frame, I used double sided tape to adhere the paint chips to the back of the old picture. I overlapped them so the text doesn’t show, and then trimmed off the bottom and edge where there was overhang. It took awhile to find the right placement so there weren’t too many like whites grouped together, but even with that the project came together in less than an hour!
An hour of time and $5 in supplies? That is my kind of DIY!


Great idea! Love the look and the cost.
Thanks Abby!